Server Side Swift with Vapor – end to end application with Heroku cloud

In this tutorial, I want to show you the whole production process of back-end and front-end swift applications and push the backend side to the heroku cloud.
First, please make sure that you have installed at least Xcode 10. Let’s start from the backend side:
Open a terminal and check your Swift version and make sure that your swift version is 4.2.
swift –-version

Time to install Vapor CLI, for this one we should use homebrew.
brew install vapor/tap/vapor
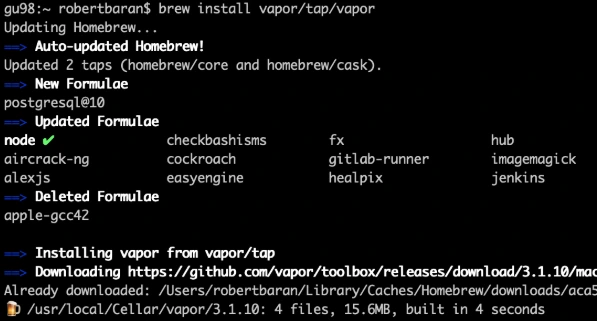
Vapor CLI is already installed.
Let’s create a new project. Vapor CLI have simple commands for lots of things. Most of them you will learn in this tutorial later.
Vapor new {your-project-name}
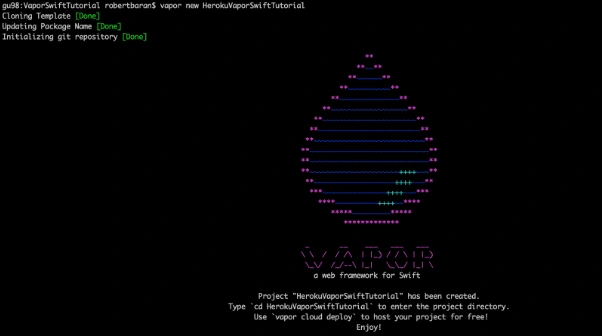
Go into the project directory and build it using “vapor build” command:
vapor build

Let’s create xcode project using vapor xcode which will be needed later.

And verify if your backend works fine locally:
vapor run
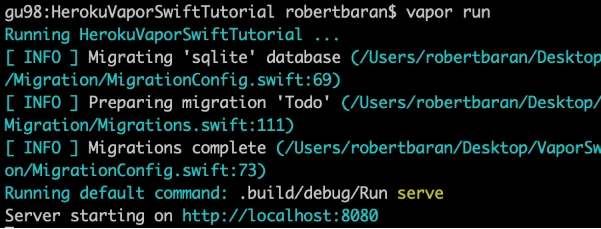
As we can see the server is starting on our machine to be sure if that works fine, go to the web browser and check the localhost:8080.
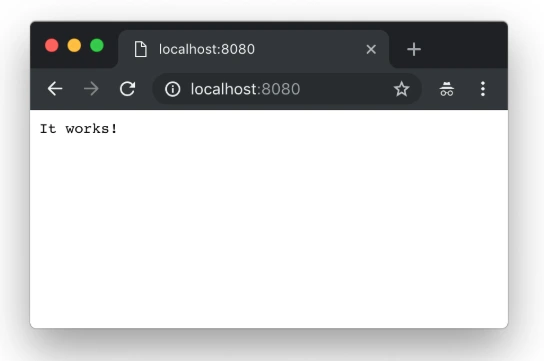
Yupi! Here is your first application running with Perfect Swift. Let’s try to deploy it to the cloud, but first, we need to install heroku cli.
brew install heroku/brew/ heroku
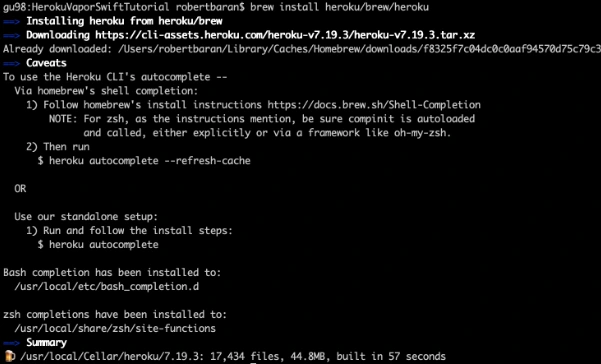
Now, deploy your first application to the cloud, but first you need to create free Heroku account. I will skip this process in tutorial. When the account was created go to the terminal install Heroku CLI and try to deploy.
vapor heroku init
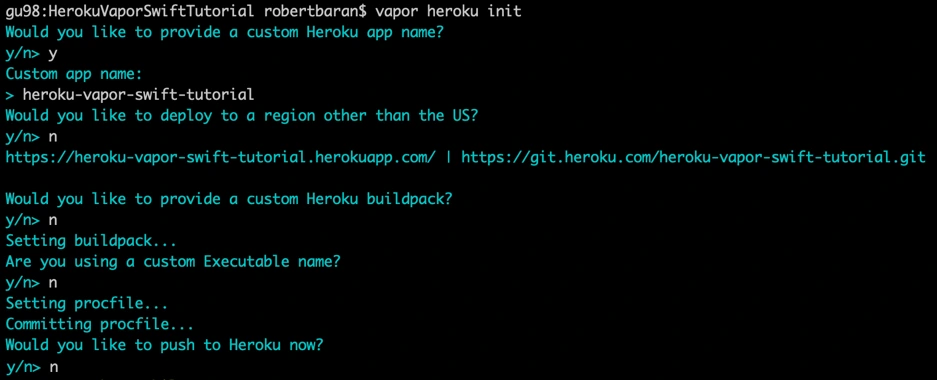
Before we push to Heroku we have to change Heroku stack from 18 to 16 as 18 is in the beta stage and doesn’t support vapor yet.

Let’s deploy: git push Heroku master.
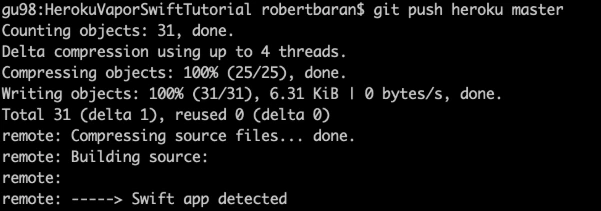
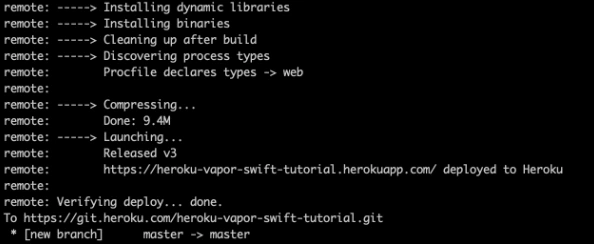
The app is already deployed. You can log in via a web browser to your Heroku account and see if it is running and if it works!
Now we need to configure the project. Go to Xcode or other source editor and install PostgreSQL framework. In Package.swift we need to add the FluentPostreSQL. In Package.swift we need to add the FluentPostreSQL.
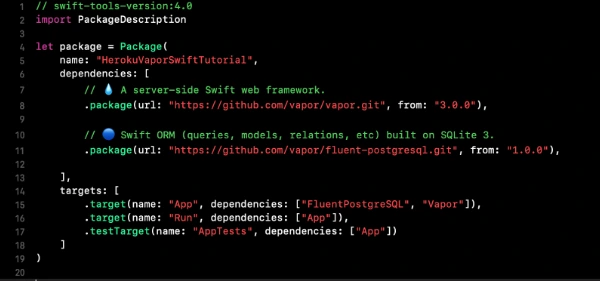
Run vapor clean, vapor build and then vapor Xcode.
It’s time to configure the database and clean up the project. First of all, go to configure.swift file and remove FluentSQL and remove related functions related to it. Then we need to configure the PostgreSQL database in our project. We need to remember that few things need to be done like at the beginning import the FluentPostgreSQL and register provider into services.
try services.register(FluentPostgreSQLProvider())
Then we need to create a database config and register the database.
  // Configure a database
  var databases = DatabasesConfig()
  let databaseConfig: PostgreSQLDatabaseConfig
  if let url = Environment.get("DATABASE_URL") {
    guard let urlConfig = PostgreSQLDatabaseConfig(url: url) else {
      fatalError("Failed to create PostgresConfig")
    }
    print(urlConfig)
    databaseConfig = urlConfig
  } else {
    let databaseName: String
    let databasePort: Int
    if (env == .testing) {
      databaseName = "vapor-test"
      if let testPort = Environment.get("DATABASE_PORT") {
        databasePort = Int(testPort) ?? 5433
      } else {
        databasePort = 5433
      }
    }
    else {
      databaseName = Environment.get("DATABASE_DB") ?? "vapor"
      databasePort = 5432
    }
    let hostname = Environment.get("DATABASE_HOSTNAME") ?? "localhost"
    let username = Environment.get("DATABASE_USER") ?? "robertbaran"
    databaseConfig = PostgreSQLDatabaseConfig(hostname: hostname, port: databasePort, username: username, database: databaseName, password: nil)
  }
  let database = PostgreSQLDatabase(config: databaseConfig)
  databases.add(database: database, as: .psql)
  services.register(databases)
Once the database is registered we need to create our model and controller. In the example project, we have todo model and controller you could remove that as we will create a new model and controller. The idea for the app is creating a shopping list, so we need to think about what we need for that. So we have already database registered so we have to create a model which will contain our productName and id. Create ShoppingList.swift file which will be our PostgreSQL model.
import FluentPostgreSQL
import Vapor

final class ShoppingList: PostgreSQLModel {
  var id: Int?
  var productName: String

  init(id: Int? = nil, productName: String) {
    print("Shopping List Model was sucesfully created")
    self.id = id
    self.productName = productName
  }
}

extension ShoppingList: Migration { }
extension ShoppingList: Content { }
extension ShoppingList: Parameter { }
Go back to the configuration file and register database migration for that model.
var migrations = MigrationConfig()
  migrations.add(model: ShoppingList.self, database: .psql)
  services.register(migrations)>
The model is already done, the database is registered so it’s time to create a controller which we gonna use for getting, creating and deleting data from our database. We have provided functions for that:
import Vapor

final class ShoppingListController {
  func index(_ req: Request) throws -> Future<[ShoppingList]> {
    return ShoppingList.query(on: req).all()
  }

  func create(_ req: Request) throws -> Future {
    return try req.content.decode(ShoppingList.self).flatMap { item in
      return item.create(on: req)
    }
  }

  func delete(_ req: Request) throws -> Future {
    return try req.parameters.next(ShoppingList.self).flatMap { item in
      return item.delete(on: req)
      }.transform(to: .ok)
  }
}
Also, we need to configure the routes. Go to routes.swift and initialize ShoppingListController and create routes for the functions which we already created in the controller:
let shoppingListController = ShoppingListController()
    router.get("shoppingList", use: shoppingListController.index)
    router.post("shoppingList", use: shoppingListController.create)
    router.delete("shoppingList", ShoppingList.parameter, use: shoppingListController.delete)
Try to build the project. Once the project is built successfully you can test that locally but first, you need to setup PostgreSQL locally. I would recommend you to configure Postgres on Heroku and push it directly. First, add Heroku add-ons. I’m using the free hobby-dev database for this project:
heroku addons:create heroku-postgresql:hobby-dev
Then:
heroku config

Edit procfile web: Run serve –env production –port $PORT –hostname 0.0.0.0
Commit the changes and push to Heroku .
gu98:VaporSwiftTutorial robertbaran$ cd HerokuVaporSwiftTutorial/
gu98:HerokuVaporSwiftTutorial robertbaran$ clear
gu98:HerokuVaporSwiftTutorial robertbaran$ heroku addons:create heroku-postgresql:shoppingList-dev
Creating heroku-postgresql:shoppingList-dev on ⬢ heroku-vapor-swift-tutorial... !
 ▸    Couldn't find either the add-on service or the add-on plan of "heroku-postgresql:shoppingList-dev".
gu98:HerokuVaporSwiftTutorial robertbaran$ clear
gu98:HerokuVaporSwiftTutorial robertbaran$ heroku addons:create heroku-postgresql:hobby-dev
Creating heroku-postgresql:hobby-dev on ⬢ heroku-vapor-swift-tutorial... free
Database has been created and is available
 ! This database is empty. If upgrading, you can transfer
 ! data from another database with pg:copy
Created postgresql-tetrahedral-24833 as DATABASE_URL
Use heroku addons:docs heroku-postgresql to view documentation
gu98:HerokuVaporSwiftTutorial robertbaran$ heroku config
=== heroku-vapor-swift-tutorial Config Vars
DATABASE_URL: postgres://hpeyjgreawzvrs:f42deaf2a16932b18b3a693fff7a577711e2c10c19efe731a0d0165e12d5a6c4@ec2-23-21-188-236.compute-1.amazonaws.com:5432/dab0tadl6uco6a
gu98:HerokuVaporSwiftTutorial robertbaran$
Verify the Heroku build, you can use it for that Postman or any other tool for API Development. Make post/get/delete and verify if that works. If you followed this tutorial everything should work fine.
Now let’s begin work on the iOS app for creating a shopping list. Usually, I create a workspace and new project for iOS, but you can do it whatever you like. There are a few options. You can have 2 separate projects for frontend and backend, you can group everything in one project and use different targets for it or you can have a workspace with 2 projects. In this tutorial, I will be working with the workspace and 2 separates projects.
Save your backend project as a workspace from Xcode -> File menu now close the current project and open the workspace. Create SingleViewApplication for frontend application select shared scheme for it and drag n drop your project file to the workspace. Now you have to close Xcode and open again your workspace. All projects should appear properly.
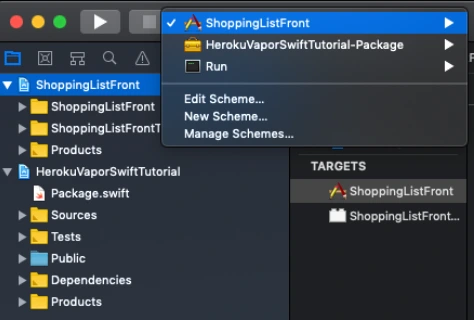
Make sure that you have all schemes here and also your projects appear properly.
Let’s start working on the iOS app. This will be just quick as we need just add a button text field and table view with the list. I’m not gonna create MVVM but it’s recommended also will use just NSURLSession for it as this tutorial it’s not about it. I just want to show you how quick and easy the whole application can be created.
Go to Main.storyboard and create UI for this app first. Add tableView, button, and textField into you view Controller and setup constraints.
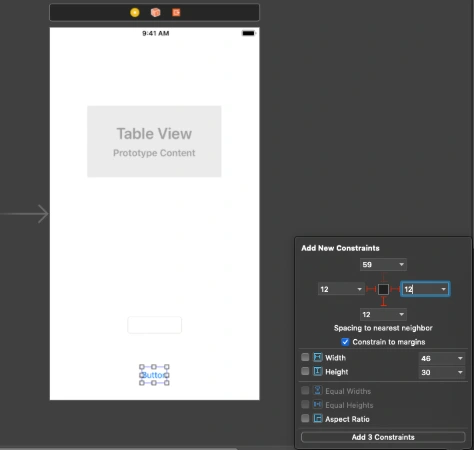
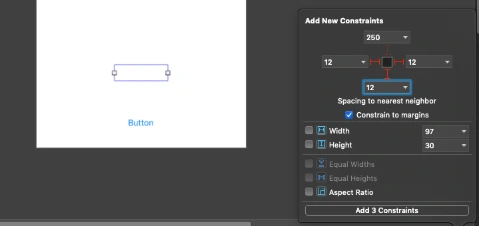
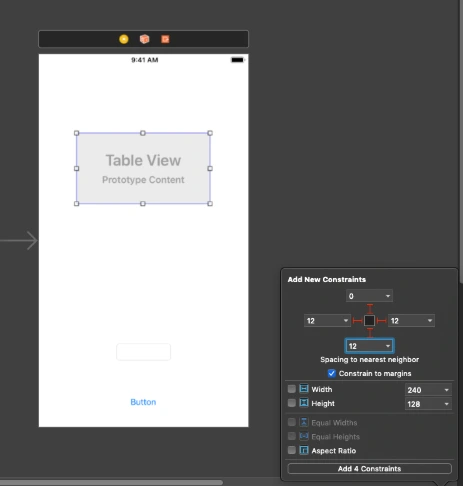
Create outlets for button, textField and connect delegate and dataSource for the tableView. Create an action for the button, create an extension for tableView delegate and data source. Create CellView. In your storyboard, you could create a prototype cell and use it in the data source. You could also create some labels and loading indicator to make that application a nice look. This tutorial is not about swift – iOS so I just give you an example of usage APIs here. You can find the whole project here. This for both frontend and backend with the workspace created. To be able to run it first you need to follow all the changes related to backend specific and Heroku as URL needs to be changed here for Heroku deployed an app or if you want to run it locally you need to configure PostgreSQL database on your machine and change database configuration in the configure.swift file.
Conclusion
Vapor is the best choice until you don’t need to use a non-SQL database like Kassandra as there is no easy way to configure that and make it work. As for me, this is no issue at all. This tutorial is easy but this is just to show you how that simple is writing backend in Swift. It’s the most important thing for the ios developers and also for every other delveloper as in my opinion this language is becoming to be the most popular language in a few years. I’m not a backend developer just enthusiast of server-side swift but thinking about change my frontend role to become a full stack.
Check related articles
Read our blog and stay informed about the industry's latest trends and solutions.
see all articles


